Today we will learn a simple trick to improve handling and productivity while using any Windows operating system. In this article we will tell you how to divide the screen in Windows 7, 8 and 10.
Since its inception, Windows has been characterized by facilitating the possibility of carrying out several tasks at the same time. It is no wonder that their operating systems offer the advantages of dividing the screen with really simple commands and functions.
The capabilities of dividing the screen as well as the ease of doing so have evolved with each new version of Windows. The improvements started from the Windows 7 version and ended with a wide range of options and commands in the version 10.
Splitting the screen has multiple benefits , if you learn the ways to do it quickly it will help you immediately. For example, when copying and pasting elements or transferring files from one program to another, or in fact from several programs to another, screen division is essential, it will allow you to work much faster.
How do we tell you the operating system that most reinforced the split screen functionality is Windows 10 , however in this little tutorial we will give you tricks for all previous versions.
If you want to see a video with the content tutorial, at the end of the article you have a couple that explain it very well in both Spanish and English.
How to divide the screen into two parts in Windows:
It is very simple, first you just have to choose the first window you want to anchor and drag it to the edge of the screen.
Once you are a small outline will appear on the edge of the screen , it indicates where your new window will be anchored and how big it will be. If you agree with the size and location, the next thing to do is just drop the window so that it anchors in the right place.


This hack hack will only work in Windows 10 versions, if you have an older version you can do exactly the same but with keyboard shortcuts. First select the window you want to pin, then press the Windows button and without releasing one of the arrows on the keyboard. You will see how the screen where you are browsing happens to occupy half of the screen at the end you have selected.
After you have pinned the first window, Windows will automatically give you options to pin the second window. As the screen will be divided in half, you can only choose a second window to keep it together with the current one.
Choose the window you want to place as a backup and voila, you will have a much more productive configuration thanks to the functions of Windows.
If you don’t want to keep your screen divided into 50 and 50 , that is, you want one window bigger than another , you can easily modify the size by placing the cursor between both windows and moving it from left to right and vice versa.

Now, if you need to have more than 2 windows open at the same time and you want to organize or divide them quickly, follow the instructions in the next segment.
How to divide Windows into more than two windows:
In case you have a very large monitor or you are synchronizing your laptop to a TV, it will be essential to take advantage of the space. When you work under these characteristics, the ideal is to have at least 4 different windows open at the same time . In this way you will be considerably more productive, imagine being able to copy and paste, make file passes and consult different information at the same time.
The procedure is almost identical except that now you only have to use the keyboard commands.
First select the window you want to pin as the main one, make sure it is fully open, full screen.
With the window open, simply click on the Windows button, then one of the left or right keyboard arrows and then one of the up or down keyboard arrows. This will allow you to divide the screen into one room and have the window easily located in one of the four rooms.

It is important that with the second window you repeat the same process but making sure to leave it on the same side where the first one is already anchored. Then an option will open that will allow you to fill in the empty space with the rest of your active windows allowing you to place up to 4 quickly.
How to disable Snap Asist?
Snap Asist is the Windows 10 program that comes from the factory and allows you to anchor windows by dragging them, without keyboard shortcuts.
For some users the Snap Asist can become a nuisance. If you don’t want to see the option to pin windows every time you move them to the edges of your screen then you can disable Snap assist by following these simple steps.


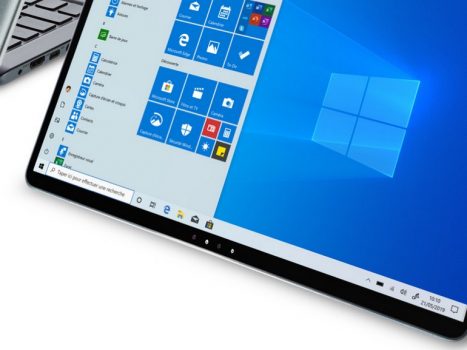
First go to the Windows start menu and look for the system settings.
Within system settings go to the list on the left and find the option “multitasking”.
Being in this window you can make multiple adjustments, one of them will be deactivate the assistance of Snap Assist. You only have to deactivate the first option that is activated by default within the “dock” section.
We only recommend deactivating the first option, this is the one that automatically shows you the places where the window would be when you approach one of the edges of the screen.
The other options in this docking list are really useful and we use them inadvertently in the Windows operating system on a daily basis.
Similarly, each option has the text below with its own characteristics, you can read them and decide what to leave activated and what to deactivate.
If this tutorial on how to divide the screen in Windows worked for you, leave us a comment.